Welcome
· One min read
1.串口重定义,AC6和AC5有所不同。直接贴出写好的代码,不使用miscoLib
#define AC6_ENABLE
#ifdef AC6_ENABLE
//加入以下代码,支持printf函数,而不需要选择use MicroLIB
__ASM (".global __use_no_semihosting");
#else                                                       //AC5_ENABLE
//#define PUTCHAR_PROTOTYPE int fputc(int ch, FILE *f)
#pragma import(__use_no_semihosting)
//标准库需要的支持函数
struct __FILE
{
	int handle;
};
#endif

FILE __stdout;
//定义_sys_exit()以避免使用半主机模式
void _sys_exit(int x)
{
	x = x;
}
//重定义fputc函数
int fputc(int ch, FILE *f)
{
	while((USART1->SR&0X40)==0);//循环发送,直到发送完毕
	USART1->DR = (u8) ch;
	return ch;
}
2.移植LWIP的时候,直接报错,找不到sys_timeout()函数。这里需要修改两个地方,首先在LwIP\system\arch\CC.h文件中,注释掉以下两条,如果使用cubemx生成,则每次生成时,都需要把这里注释。
#define LWIP_PROVIDE_ERRNO

#if defined (__GNUC__) & !defined (__CC_ARM)

//#define LWIP_TIMEVAL_PRIVATE 0
//#include <sys/time.h>

#endif
其次,在lwip.h中,需要添加一个宏定义 #define __CC_ARM
/* Includes for RTOS ---------------------------------------------------------*/
#if WITH_RTOS
#include "lwip/tcpip.h"
#endif /* WITH_RTOS */

/* USER CODE BEGIN 0 */
#define __CC_ARM          //AC6编译器才添加的宏定义
/* USER CODE END 0 */

/* Global Variables ----------------------------------------------------------*/
extern ETH_HandleTypeDef heth;
需要的环境
https://pic2.zhimg.com/80/v2-1f20aa45b28606d1ac2d49e752465b75_1440w.webp
1.下载gcc-arm-none-eabi
网盘地址:
2.下载OpenOCD
下载站地址:Download OpenOCD for Windows (gnutoolchains.com)
下载连接:https://sysprogs.com/getfile/1748/openocd-20211118.7z
网盘地址:
3.下载STM32CubeMX
官网地址:STM32CubeMX - STM32Cube初始化代码生成器 - STMicroelectronics
网盘地址:
4.将gcc-arm-none-eabi、OpenOCD加入环境变量
1.官网下载clion下载地址

2.安装clion
3.启动clion安装中文插件

选择红色框框的那个
安装好后,需要重启IDE
1.使用stm32cubx初始化代码(这里使用stm32f103c8作为示例)
如何使用stm32cubx就不在这里演示了
只贴出注意事件

2.使用clion打开

打开工程

点击确定

然后就和普通的嵌入式开发差不多了
我们在这里简单的写个闪烁灯的程序

点击那个小锤子的按钮就可以编译了

编译成功,显示目标��文件大小

3.下载到开发板上
编辑面板配置文件
在项目目录下创建一个以.cfg为后缀的文件
打开后,写OpenOCD配置文件,在这里给出使用stlink的配置文件
source [find interface/stlink-v2.cfg]
transport select hla_swd
source [find target/stm32f1.cfg]
reset_config none
编辑运行配置


选择下载的固件

点击右上角的小三角即可下载固件
下载成功会提示下载成功
from calendar import c
import http
from subprocess import getoutput
import requests
import time
print(time.strftime('%Y-%m-%d %H:%M:%S',time.localtime(time.time())))
debug = getoutput("cd /www/wwwroot/wiki.paopaozhiiot.cn")
debug = getoutput("ls -l")
commit_local = getoutput("git log")
commit_local = commit_local.split()
commit_local = commit_local[1]
print(commit_local)
url = "https://gitee.com/api/v5/repos/paopaozhi/paopaozhi/branches/main?"
data = {
"access_token":"c0082ee42eb4ef916bd44a1d0179ef81"
}
r = requests.get(url=url,params=data)
r = r.json()
commit_far = r["commit"]["sha"]
print(commit_far)
if commit_far == commit_local:
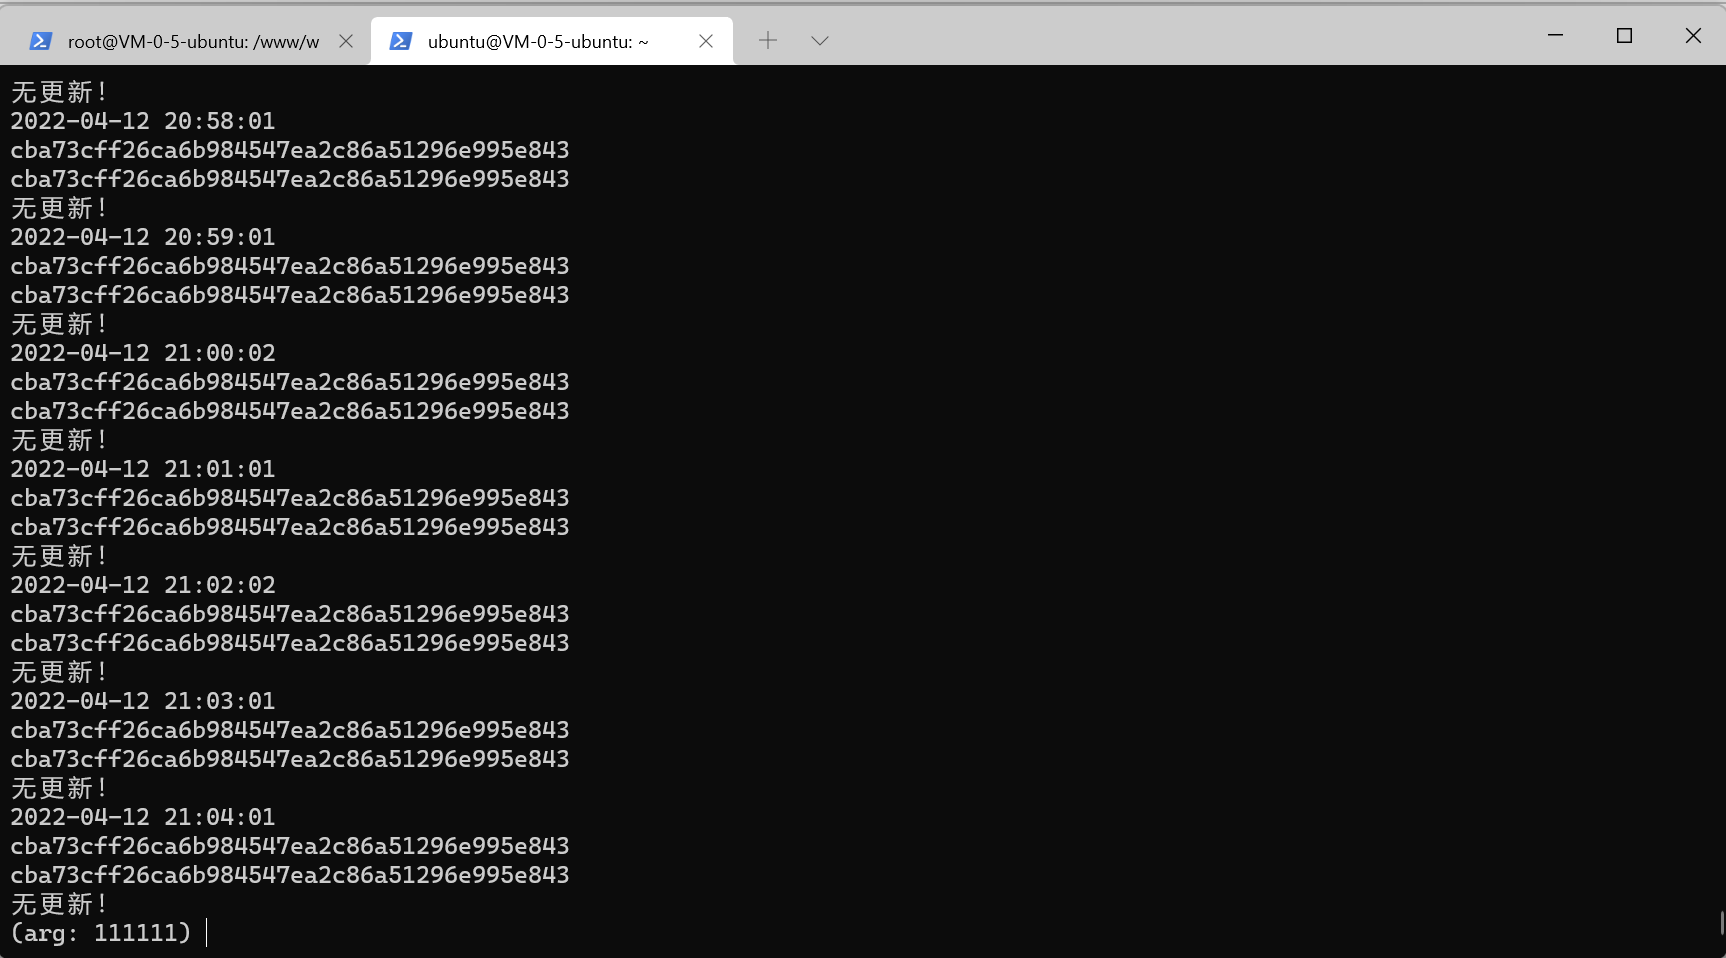
print("无更新!")
else:
ii = getoutput("git pull gitee")
print(ii)
在文件尾部添加
* * * * * <解释器路径> <脚本文件路径> >> <重定向日志路径>
sudo service cron restart
vim <重定向日志路径>